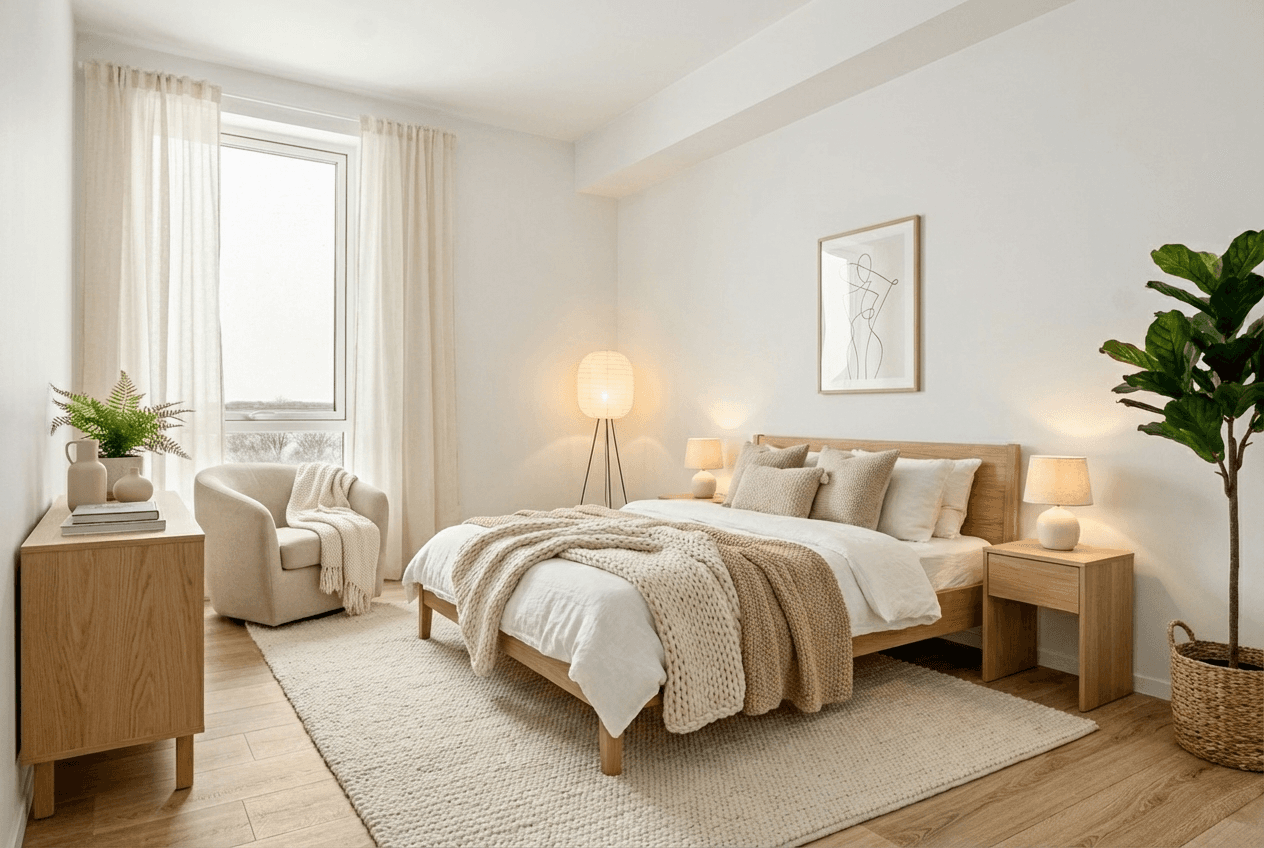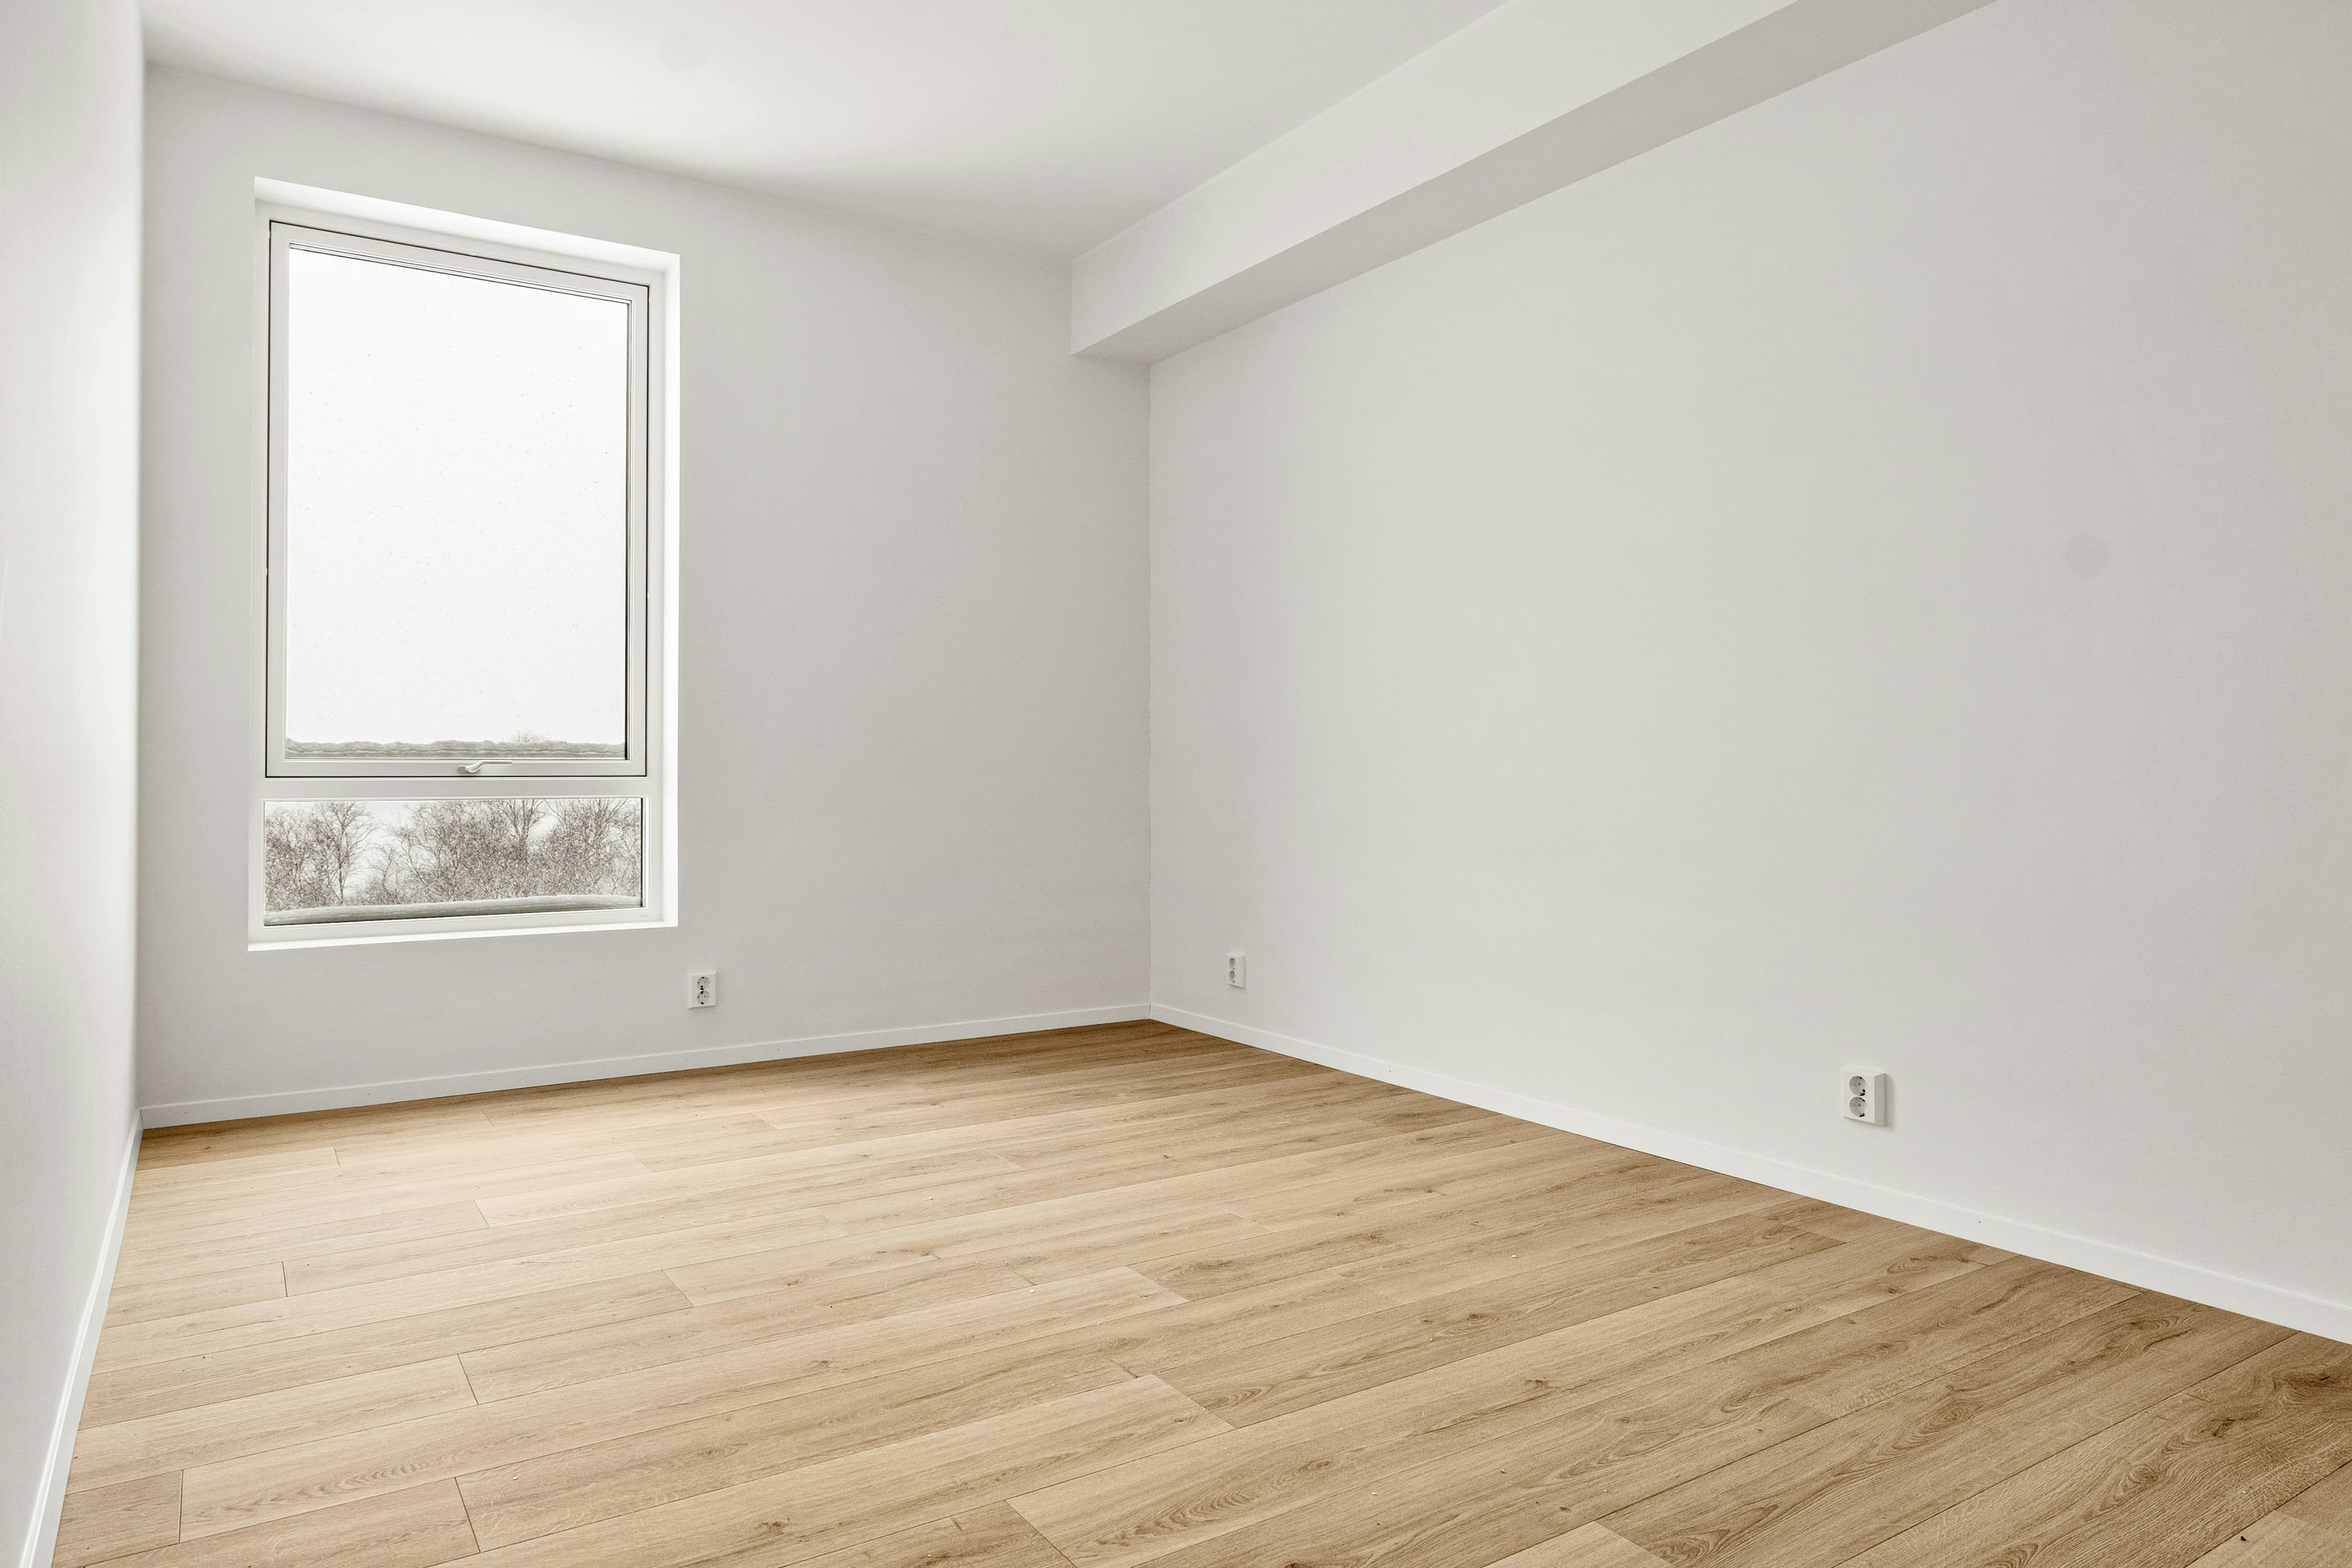
The best virtual staging software is not simply the tool that generates the flashiest room. It is the one that helps your team create a believable, reviewable, and reusable listing asset without introducing avoidable compliance or workflow problems.
Start with the workflow, not the feature list
Write down the job you need the tool to do. Are you preparing a vacant listing gallery? Cleaning an occupied room before staging? Exploring style options with a seller? Turning approved photos into a reel? Different jobs need different strengths, and a long feature checklist is less useful than a clear answer to that question.
Nine questions to ask before you choose
- Does it preserve the actual room? Review perspective, fixed features, windows, lighting direction, and room boundaries.
- Can you choose an appropriate room type and style? Controlled choices are better than a generic, inconsistent output.
- Can you review and regenerate before publishing? Listing visuals need an approval step; a first output should not automatically become an ad.
- Can it handle the real starting condition? Check whether you need furniture cleanup, clutter removal, or a clean empty-room source first.
- Does it support your disclosure workflow? You still need to retain originals and meet your local MLS, brokerage, and advertising rules.
- Can you export the formats you actually use? Listing galleries, vertical social video, and wide listing-page video have different needs.
- Can one approved image become several campaign assets? Look for a path from staged photo to reel, carousel, email, or seller review.
- Are credits, turnaround, and access clear? Compare the current plan details for the volume and deadline you actually have.
- Can your team obtain help when a listing needs judgement? A tool should support an accountable workflow, not replace it.
Test with real listing photos
Do not judge any tool only from its gallery. Test it with your own well-lit, wide-angle image and assess the result at full size and on a phone. Use the same room to compare styles, then ask whether the furniture scale, view, lighting, and circulation still make sense. Make sure an agent or photographer who knows the property gives the final review.
What to watch for
- Furniture that overlaps doors, windows, or permanent fixtures.
- Architecture, flooring, views, or lighting that has changed without approval.
- Overly dense rooms that obscure the actual footprint.
- Different styles or colour temperatures from image to image.
- A workflow that stops at one image even though you need a listing campaign.
Where Propscene fits
Propscene is built for the real-estate workflow after the photo or listing link is available: create reels, social-ready visuals and listing copy, then add staging, cleanup or redesign when the property needs it. It also connects the image step to walkthrough reels and listing-url-to-reel workflows, rather than treating staging as the final output.
Final selection checklist
- The output preserves the real property and supports buyer understanding.
- The controls match the rooms and visual directions you market.
- The review, export, and disclosure process works for your local requirements.
- The tool fits the speed, volume, and handoff requirements of your team.
- Its approved images can move into the rest of your listing campaign.
Before you publish any altered visual, use the disclosure guide. If your immediate goal is a social asset rather than a standalone image, start with the photo-to-reel workflow.