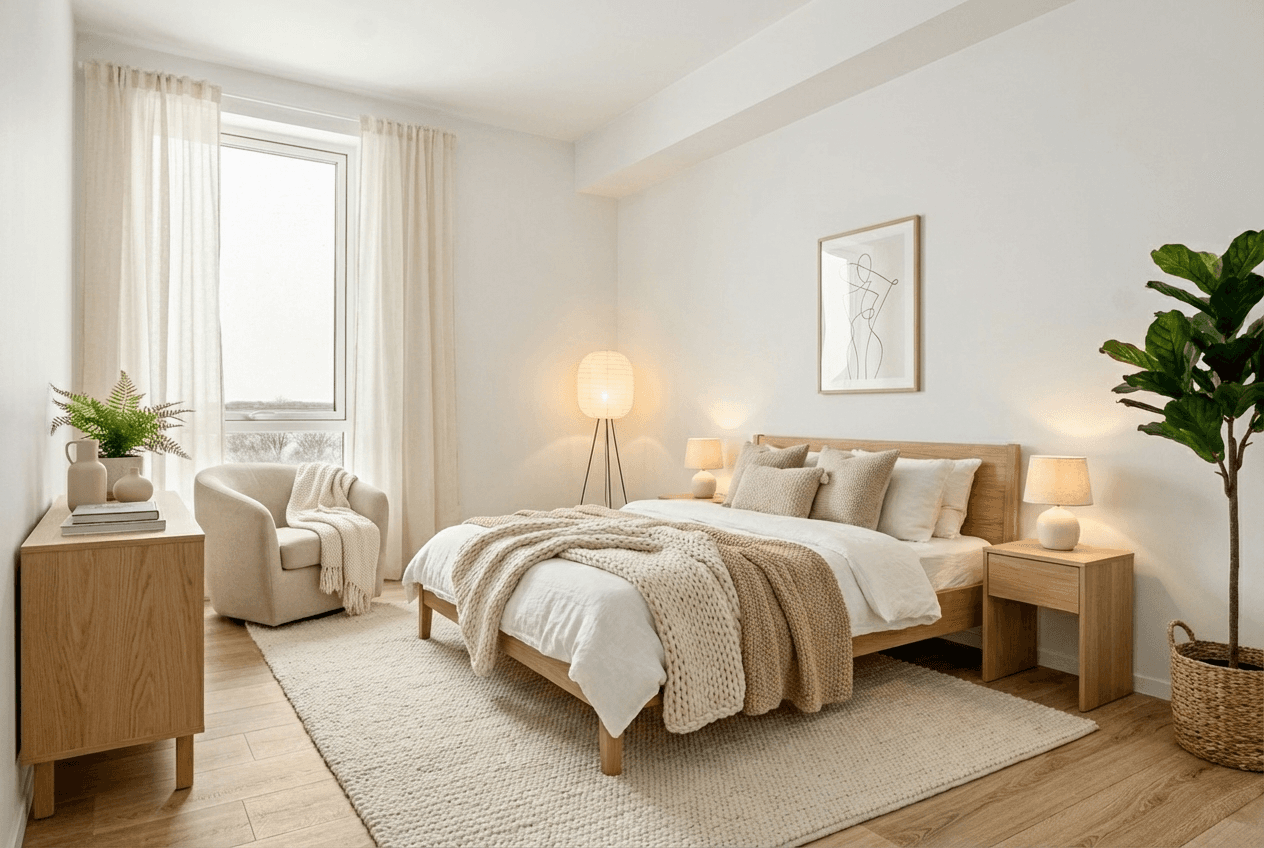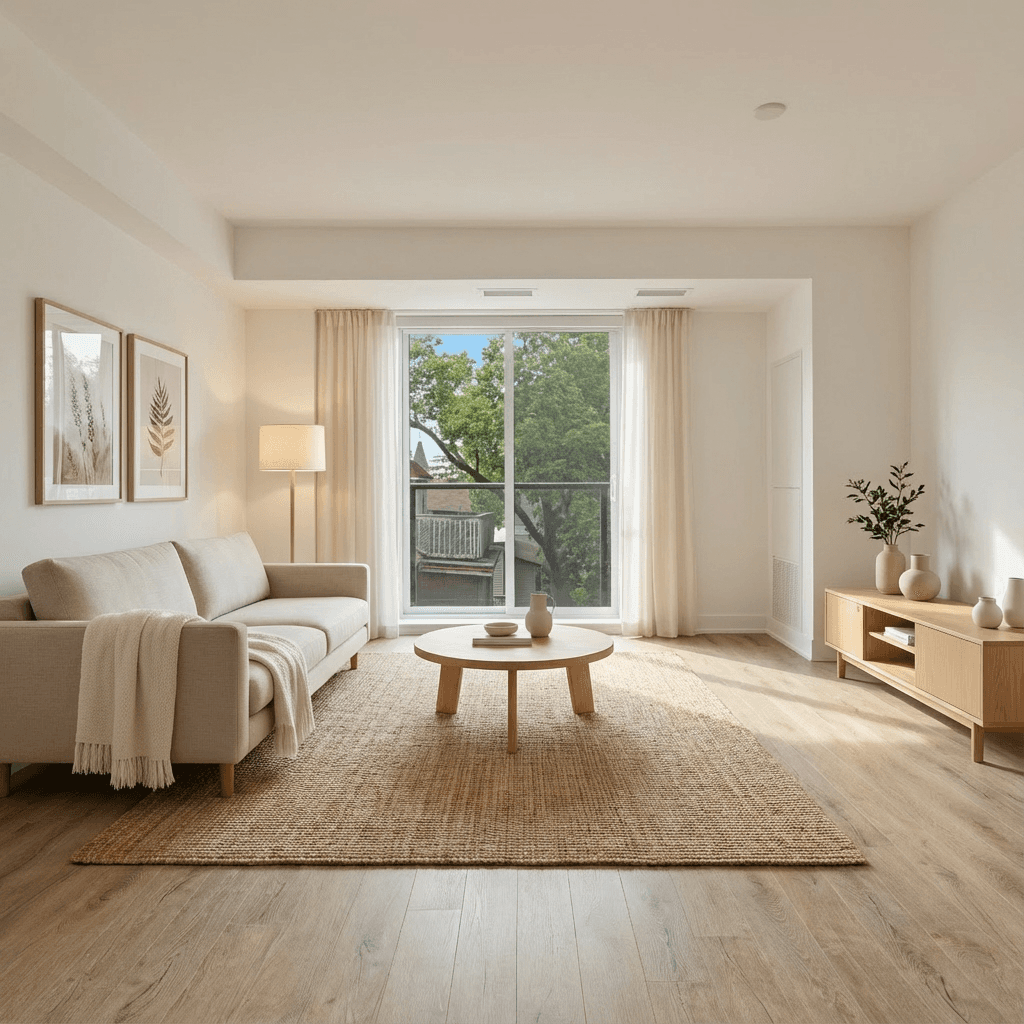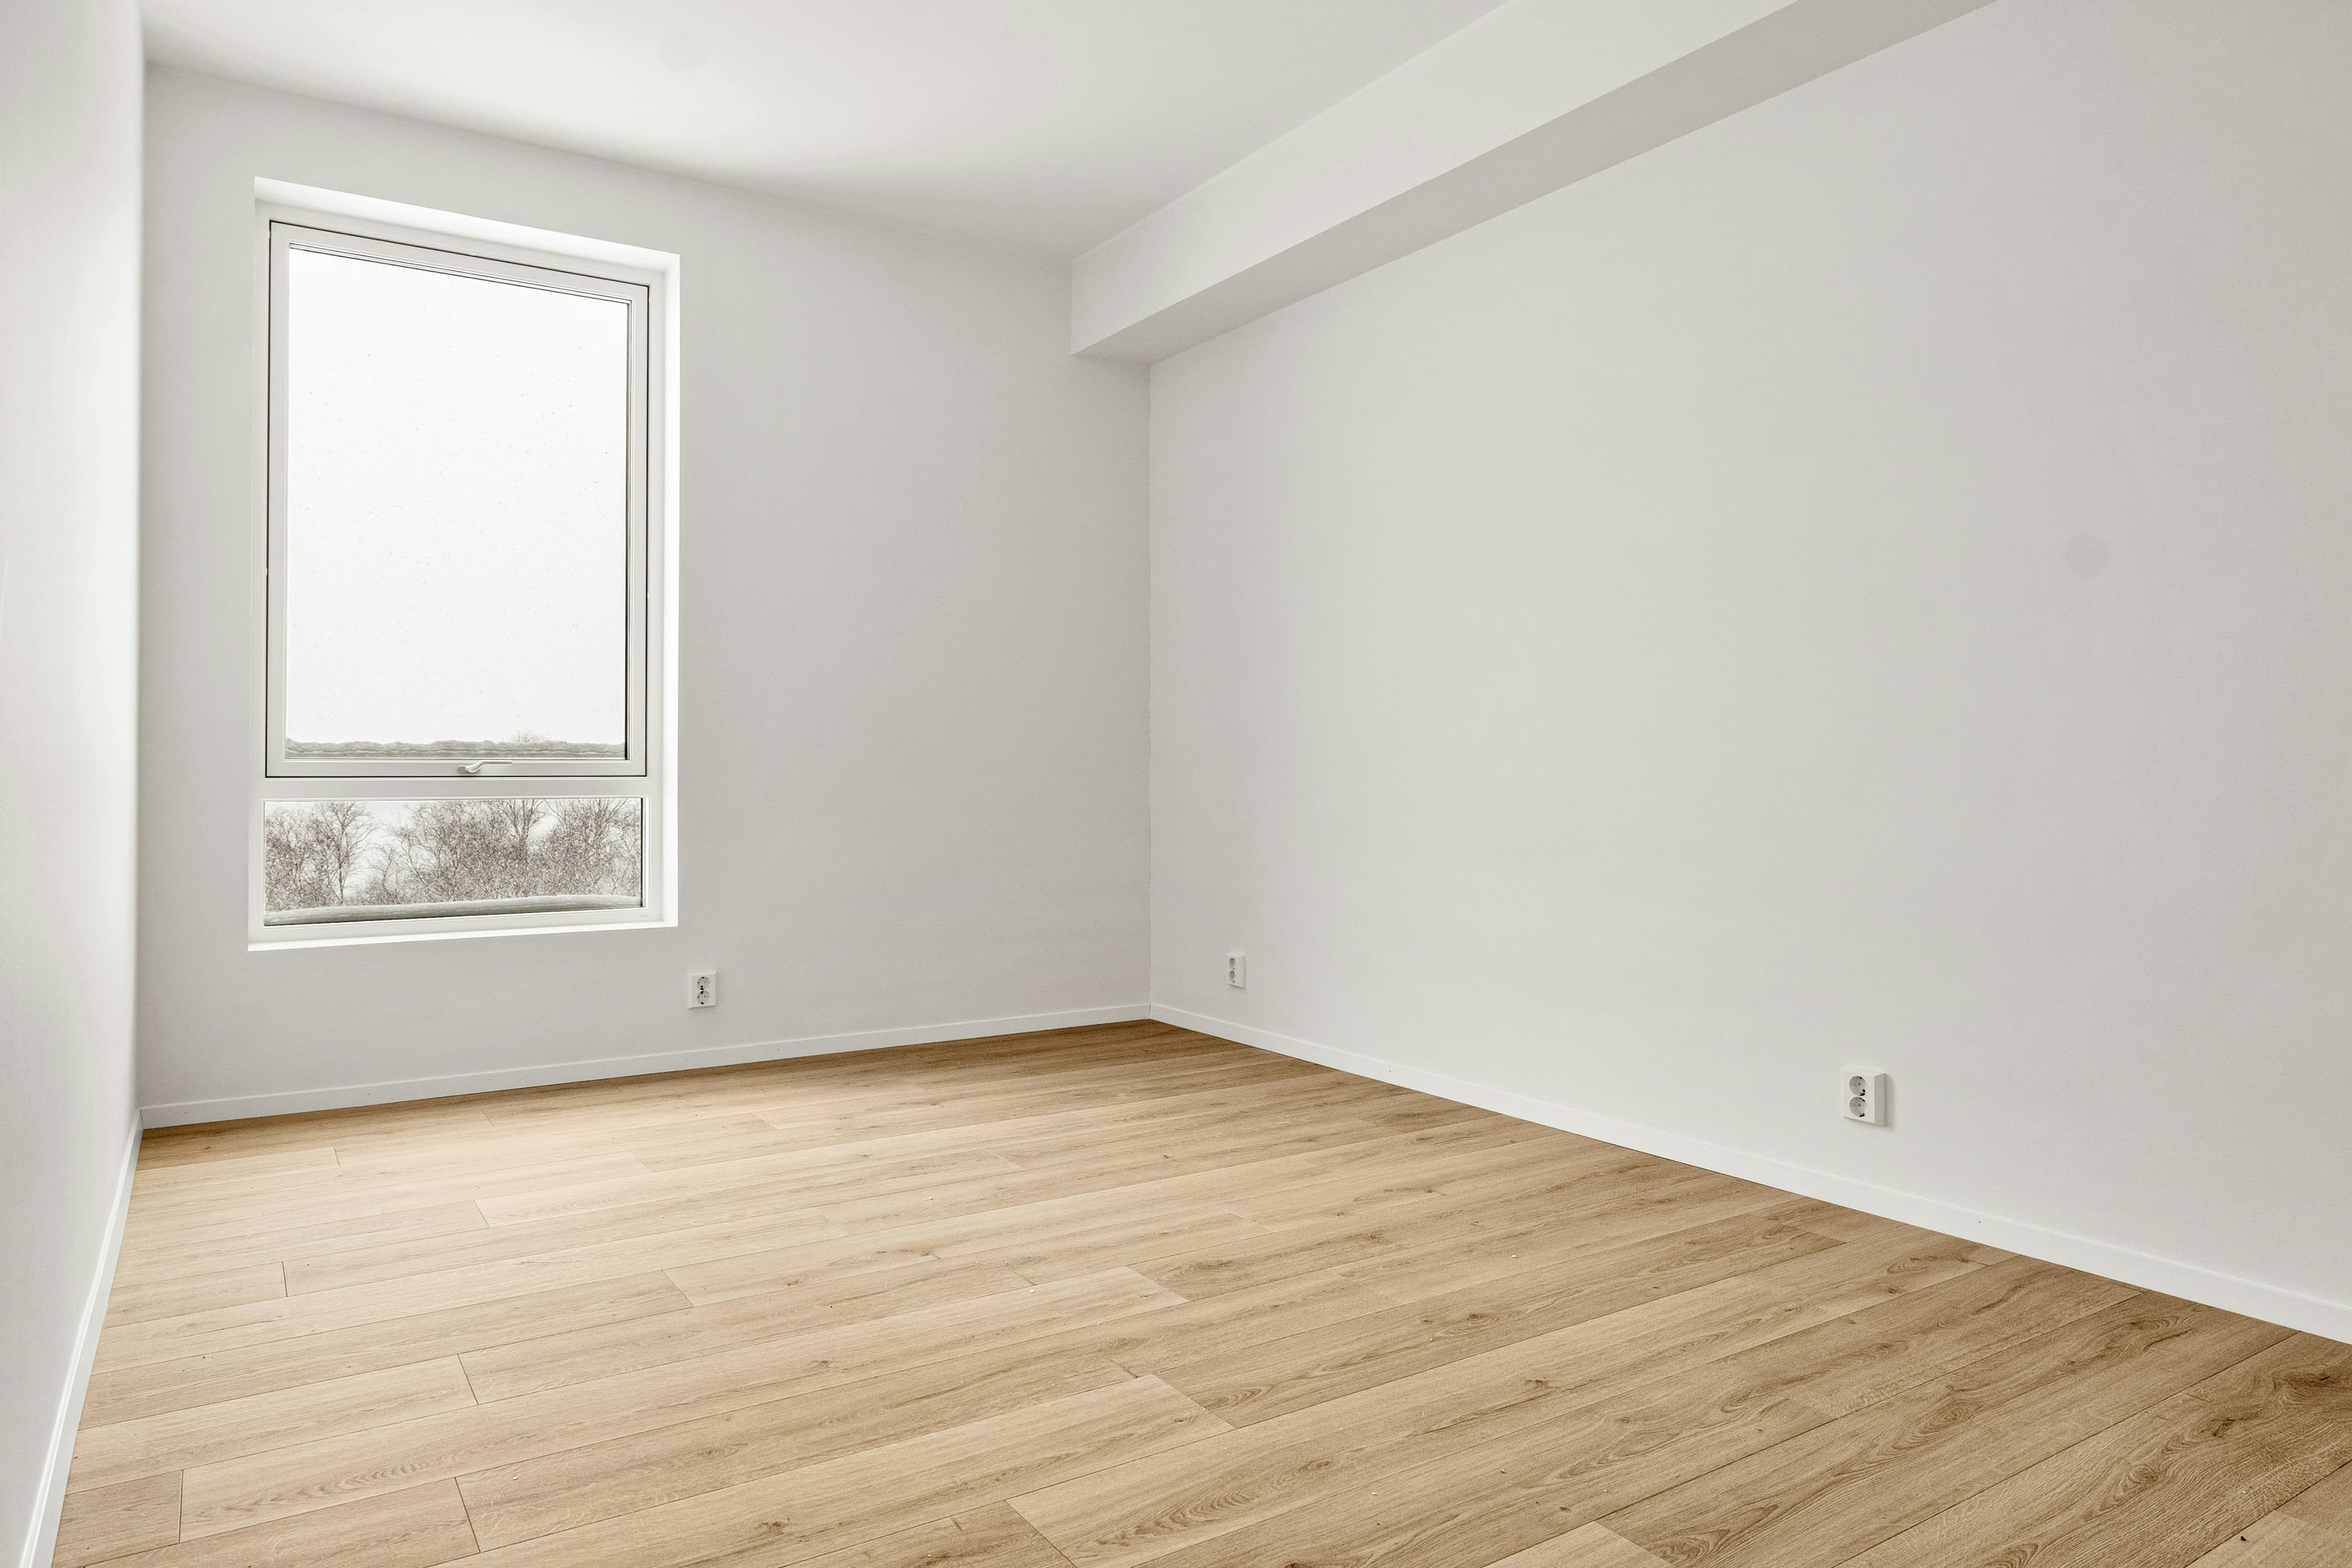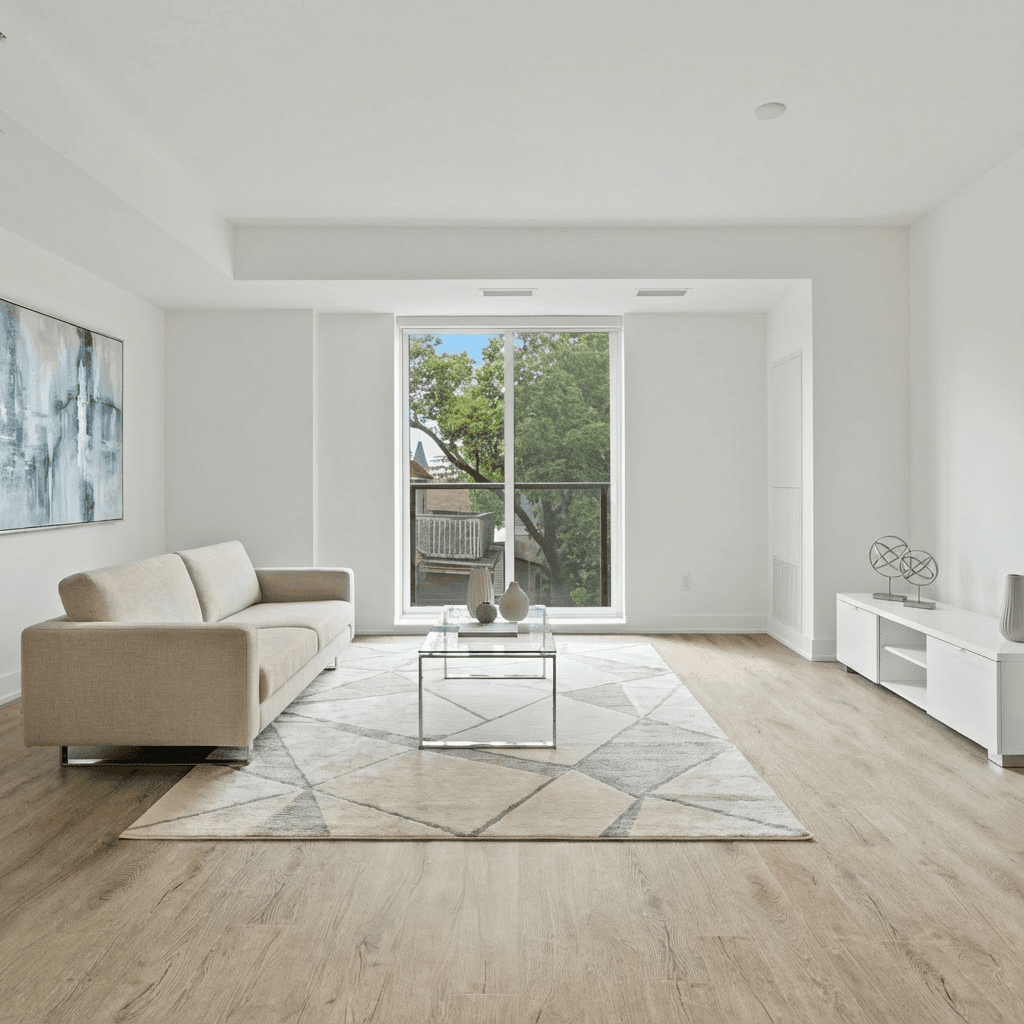
An empty house is not a blank marketing canvas. It is a real property a buyer needs to understand quickly. The goal of staging is to clarify scale, flow, and possible use—not to make every room look busy or hide what the home actually is.
1. Start with the actual condition
Before choosing furniture or virtual concepts, walk the property as a first-time buyer would. Clean visible surfaces, windows, floors, fixtures, and outdoor areas. Repair or disclose issues according to the listing plan. Open blinds, establish consistent lighting, and remove distractions that make rooms hard to photograph.
The original photo set matters even if you plan to stage visually. It is the factual record of the home and the reference that keeps every later decision honest.
2. Choose the rooms that need explanation
Do not stage every room by habit. Start with the spaces that explain the listing:
- Main living space: can a buyer understand seating, circulation, and the focal point?
- Primary bedroom: does the photograph show a believable bed layout and usable clearance?
- Dining area: is it clear where people would eat?
- Flex room: does a visual help distinguish office, nursery, guest room, or storage potential?
- Outdoor area: is the usable space obvious from the photo?
3. Use furniture to explain scale
Choose pieces that make the room understandable. Oversized furniture can make an empty room seem smaller; too little furniture can leave a buyer unable to picture the purpose. Keep door swings, windows, pathways, and focal points visible. A small number of well-chosen pieces is more useful than a styled showroom.
Match the visual direction to the property, not an assumed buyer demographic. A simple modern or Scandinavian arrangement may work for a light-filled condo; a character home may call for materials and proportions that acknowledge its architecture. Use the staging-style guide for a practical selection process.
4. Build the photo and reel story
For photos, start with the strongest anchor room and include enough wide frames for a buyer to orient themselves. For a reel, choose one promise and show only the images that prove it. A sequence such as main living area → kitchen/dining connection → primary suite → outdoor payoff is more useful than a fast inventory of every room.
Follow the listing photo-to-reel workflow to turn the approved images into an accessible, short-form asset.
5. Make the showing match the listing
If you use virtual staging, retain the original visuals and make the altered state clear wherever required. At the property, help buyers answer the practical questions that digital staging introduced: have a floor plan, dimensions, and honest context available. If you physically staged only some rooms, do not let online imagery imply that the full home will be furnished.
Vacant-home staging checklist
- Property cleaned and accurately photographed before alterations.
- Anchor rooms selected based on buyer understanding, not a fixed room count.
- Furniture scale, circulation, and architecture reviewed.
- Original and altered images organised with clear labels where needed.
- Hero reel, listing gallery, open-house post, and follow-up all use current facts.
- Showings include the information buyers need to evaluate the real space.
For the broader distribution plan, read how to market a vacant house online. If a room needs cleaning before staging, use the photo-cleanup workflow carefully and transparently.